Technique
How to measure press-on nails for the right size
The thing that most often makes a set look cheap is the wrong size. Not the colour, not the shape. A nail that sits too wide gaps at the cuticle. One that sits too narrow shows a strip of your own nail down each side. I measured my own ten nails, ordered sets in two sizing systems, and glued them on side by side. Here is how you hit the right width.
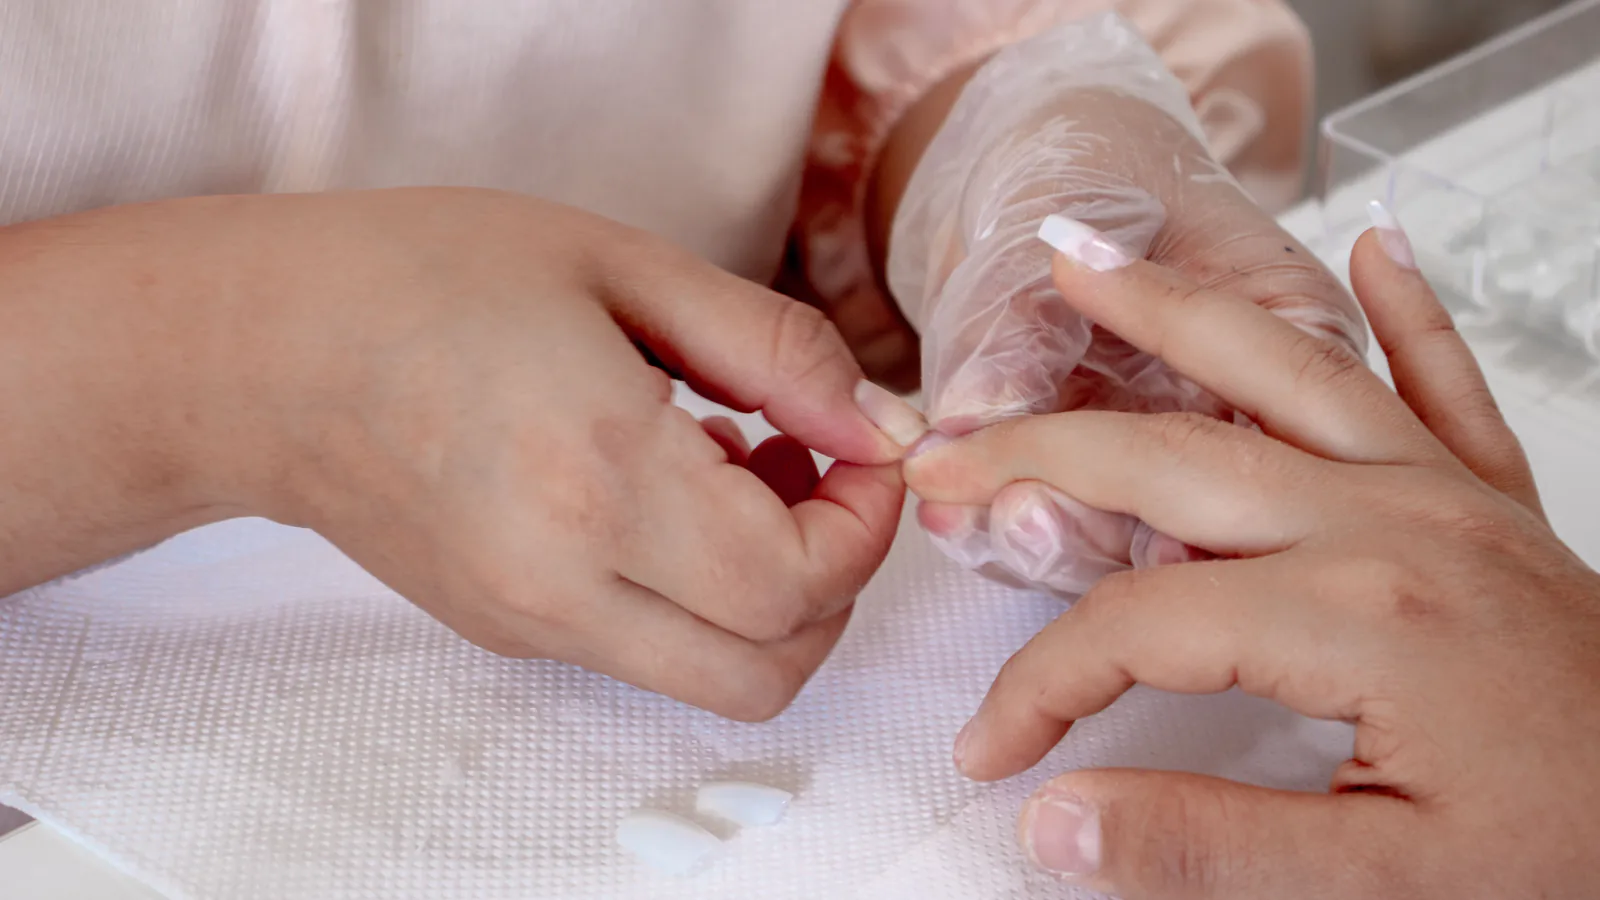
Width decides, not length
Most people pick a size by how long the nails look. That is the wrong end to start from. A press-on rests on the width of your own nail plate, not on its length. Measure the width at the cuticle and you have the number that decides whether the set lies flat or lifts at the edge. Length you file down afterwards. Width you can do little about once the nail is glued on.
So a nail that runs half a size too narrow is worse than one that runs a little long. The short one you can live with. The narrow one you notice every time the light catches the side.
How to measure your nails
Lay a ruler or a soft tape over the nail at its widest, right across the cuticle. Note the width in millimetres for each of the ten nails. Almost nobody measures the same on every finger. The thumb is usually widest, the little finger narrowest, and the right and left hands are rarely quite alike.
A press-on set is numbered, usually from 0 to 9, where 0 is widest and 9 narrowest. You match your millimetre reading against the chart that comes with the set. When I measured my own, I ended on four different sizes across ten nails. A set in one single size would have fit two of them and gapped on the rest.
Between two sizes
If a nail lands between two numbers, take the wider one. A nail that runs a touch too wide you file down at the sides until it follows the cuticle. One that is too narrow you cannot make broader. You are left with a visible strip along the edge, and the glue lets go sooner where the set does not fully cover. Wide and filed beats narrow and smooth every time.
Do a dry fit before gluing
Many sets come with more nails per size than you need. Use the spares to fit dry. Lay a nail over your own without glue and see if the edge follows the cuticle the whole way round. If it does not, go a number up or down before you fix anything. A dry test takes two minutes and saves you a set that lifts on day one. For the reuser it counts double. Fit it right from the start and you skip prying off a nail you glued wrong. The set also keeps its shape for the next round.
Write down the size you landed on per finger. The next order then goes straight to the right set, and you can compare across brands that number a little differently.
Common mistakes
The most common slip is picking by eye halfway through the application. You have glue on your finger, it is rushed, and you grab the nail that looks about right. Measure before you open the glue, never during.
Another miss is the curve. Two nails can be the same width and still fit differently, because your own nail arches more than the press-on. A flat press-on lifts in the middle on a domed nail. If yours curve a lot, pick a set with a bit more C-curve and press a few seconds longer while it sets.
The third is filing too little. If the width is nearly there but the edge sits a hair over the cuticle, run a file along the side. A few strokes until it lies flat. Half a minute per nail is enough. It is the same prep that keeps a set on longer. All the tricks are in how to make press-on nails last longer.
Size and wear go together
The right width is half the wear. A set that lies flat against the cuticle gives water and soap no edge to creep under. One that gaps lets go there first. Fingernails grow about 3.5 mm a month (Yaemsiri et al., 2010), so the regrowth shows after a week or so anyway. Sit the set right from the start and you get those days before it begins to look grown out. Sit it crooked and you lose them at once.
Whether you fix it with glue or with glue tabs, the sizing rule does not change. The right width matters even more for tabs, which give a gentler hold. I tested the difference between the two in glue tabs or nail glue. If you are brand new, the beginner guide walks you through the whole order, from measuring to fixing.
Common questions
How do I measure press-on nail size?
Lay a ruler over the nail at its widest, right across the cuticle, and read the width in millimetres. Do it for all ten. Match the numbers against the sizing chart that comes with the set, where a low number is widest.
What do I do if my nail is between two sizes?
Take the wider one. A nail that is too wide you file down at the sides until it fits. One that is too narrow you cannot fix, and it shows a strip of your own nail along the edge.
Can I use the same size on every finger?
Rarely. Most people need three to five different sizes across ten nails. The thumb is widest, the little finger narrowest, and the hands are often a little different. That is why the sets come numbered.
Why does the set gap at the cuticle?
Either the nail is too wide, or your own nail arches more than the press-on. File the sides if it is too wide, and press longer while it sets if it is the curve that lifts the middle.
How do I file a press-on that is slightly too wide?
Hold a file upright along the side edge of the press-on and take a few strokes at a time. Test it dry against your own nail between rounds. Take off a little at a time, since you cannot add width back.
Size is the one number I always check first. Get the width right, and the rest of the set almost sorts itself out. Not sure about shape? That is a choice for another day.
Get the hold guide free
Enter your email and we'll send our guide: prep, glue amount and the tricks that get press-ons to hold a week. A calm email now and then, unsubscribe whenever you like.
We never share your email. Unsubscribe with one click.